Alerts can be set on KPI level and Product level:
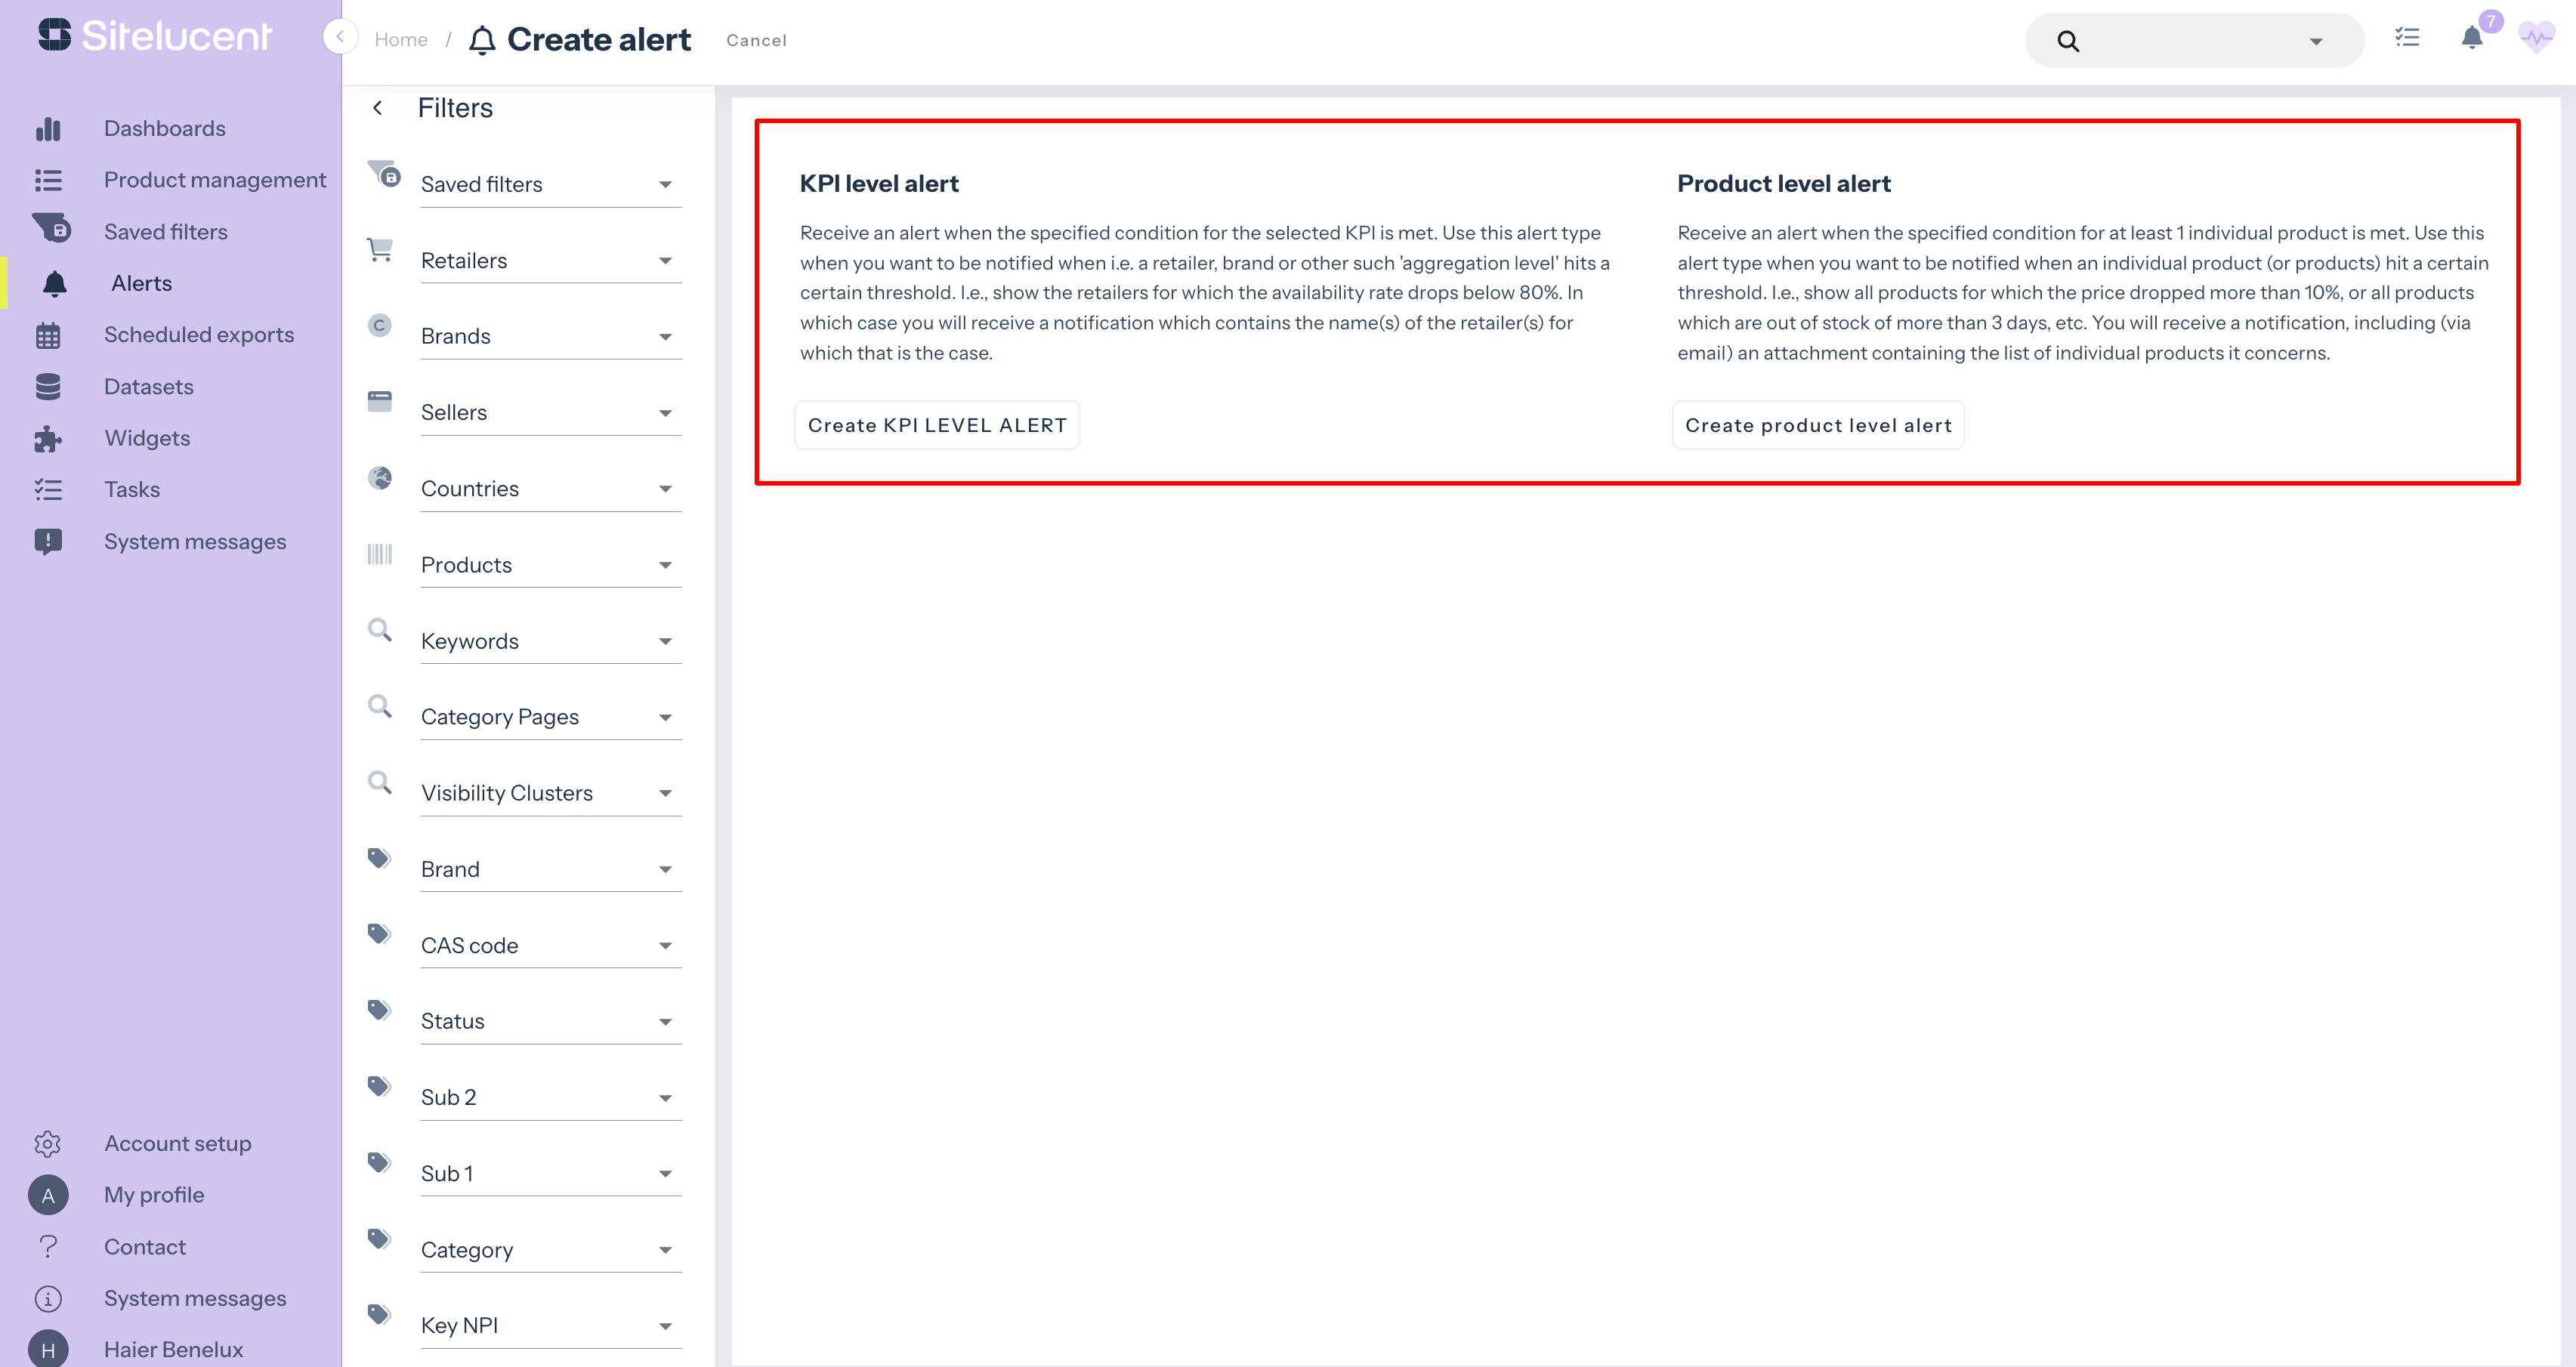
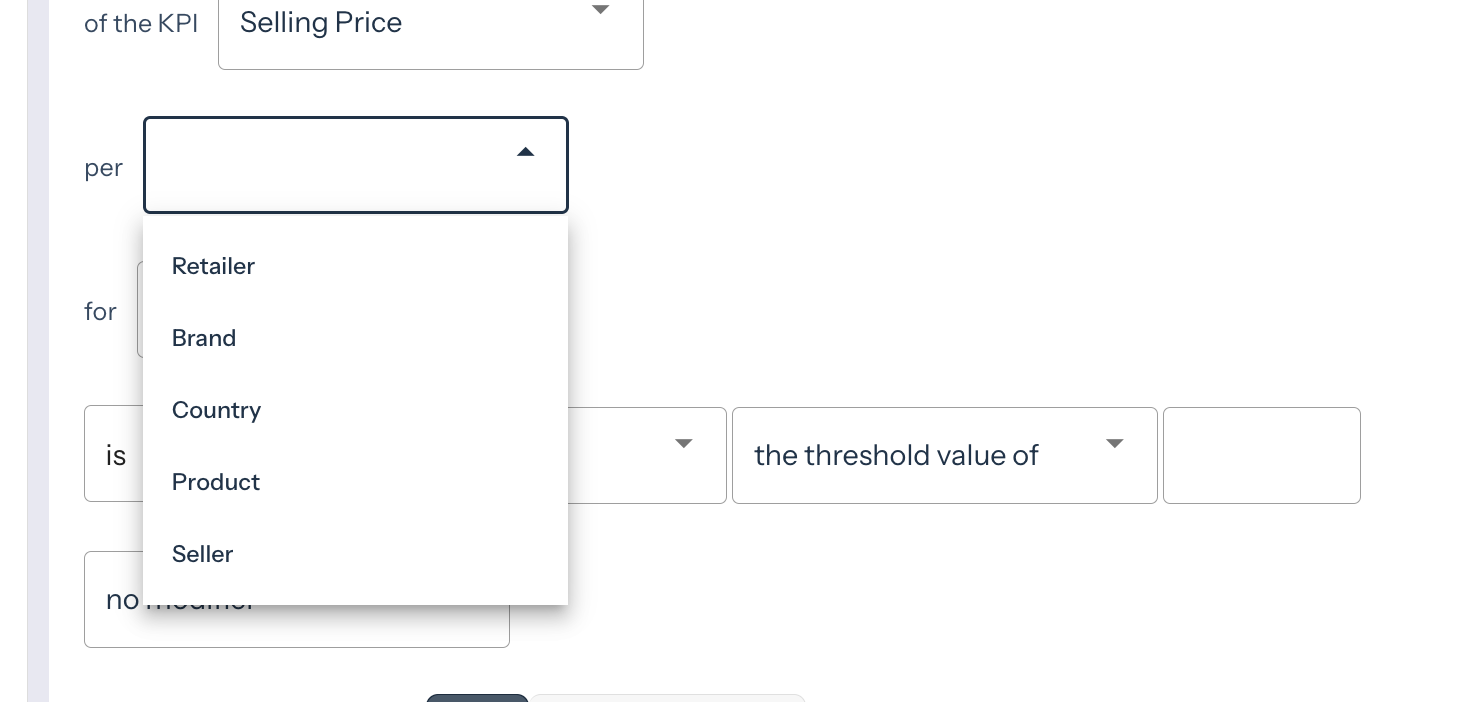
Note: when it comes to a KPI level alert, you can choose your dimension. You can choose between retailer, brand, country, product and seller. When you’re tracking your availability rate per retailer and you set an alert to ‘availability rate = equal to 0%’, you’ll only receive an alert when there is a retailer with no products in stock. However, when you choose the dimension brand, you’ll receive an alert when a specific brand has no products in stock. Meaning, this transcends the retailer dimension.
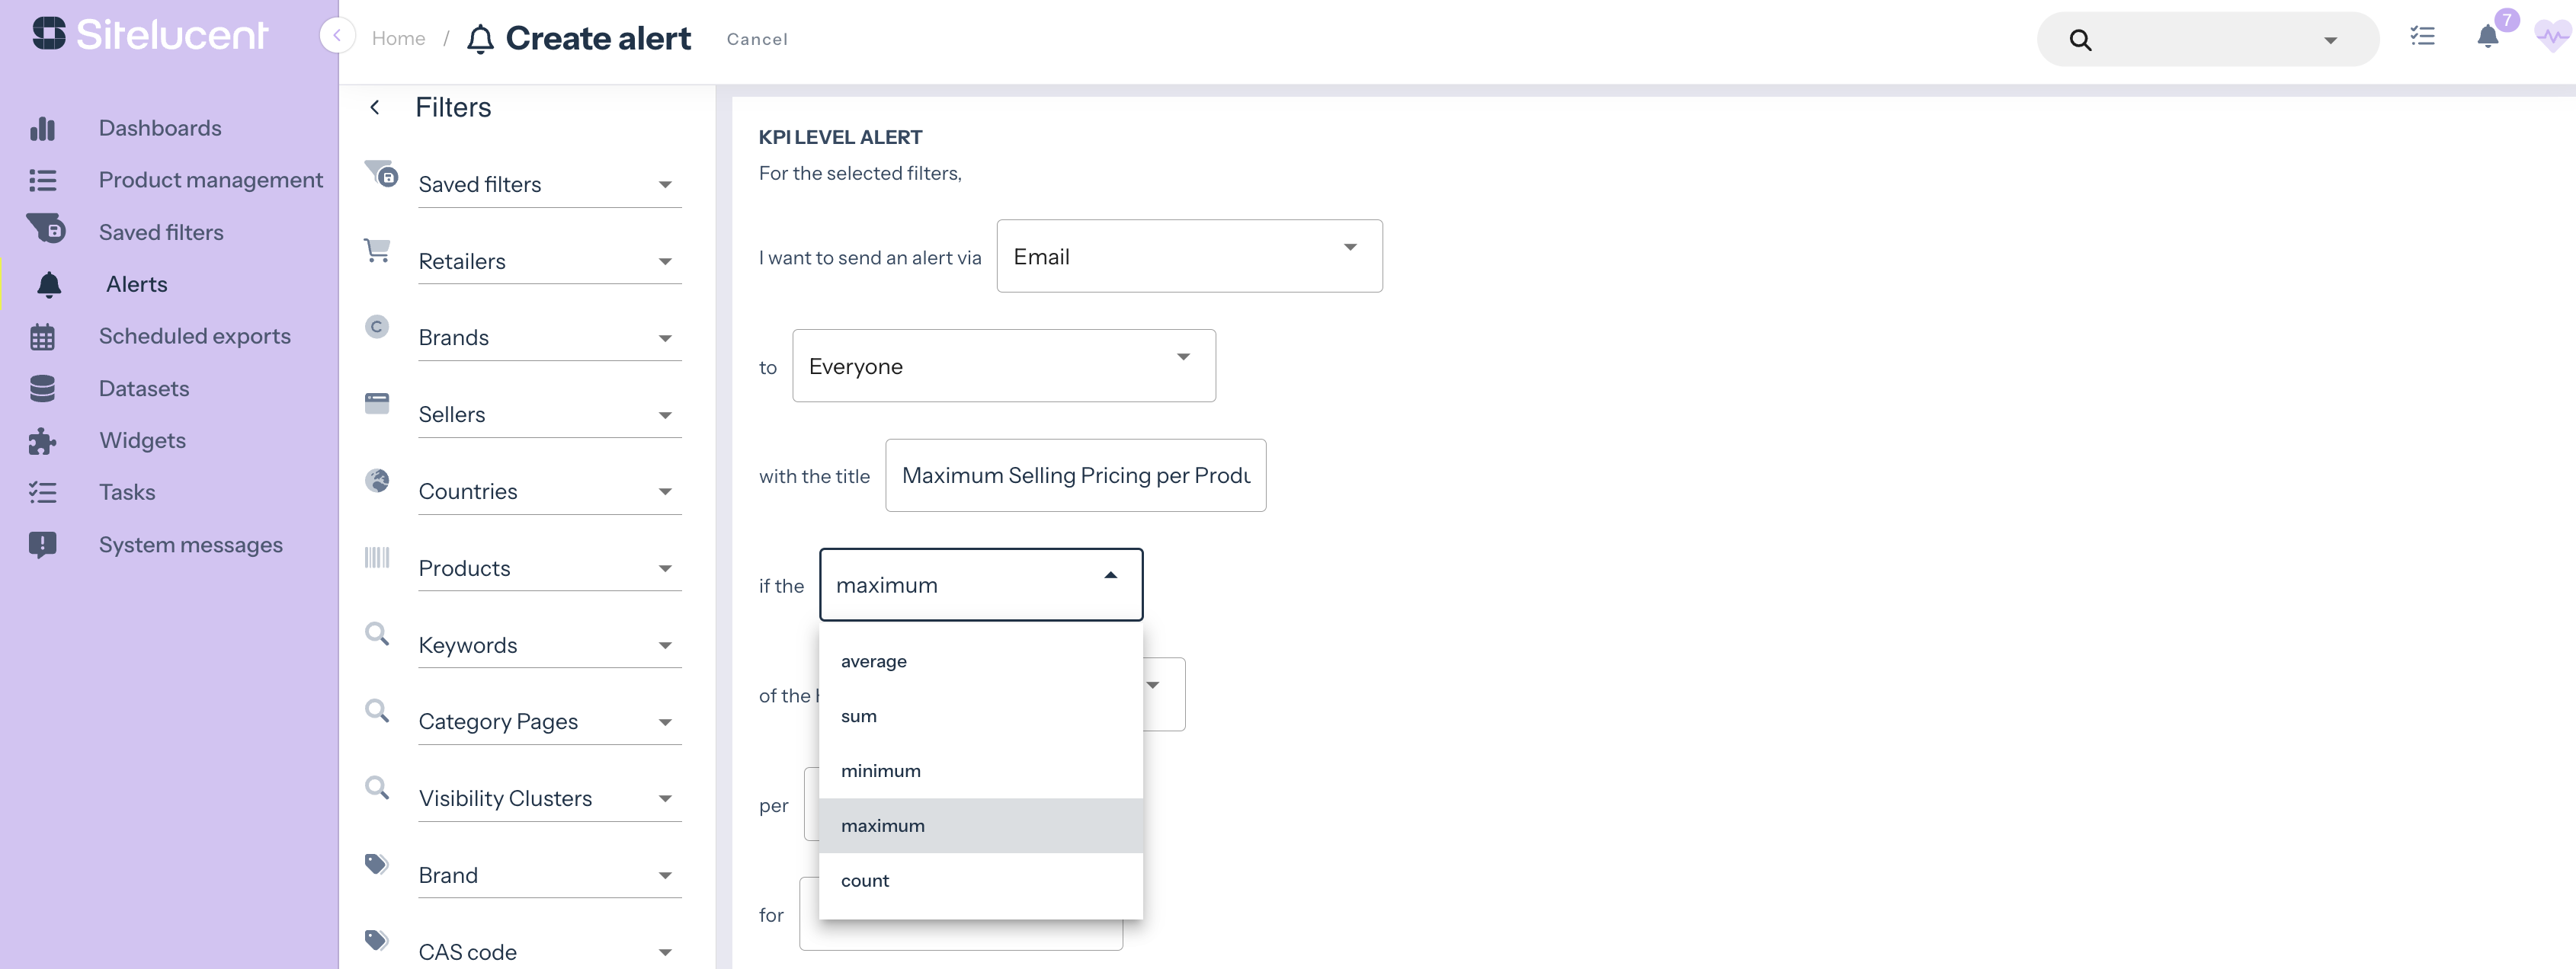
Note: you can choose between today and yesterday. When you choose today for your alert, the alert is only triggered when the data collection for your account is ready. When you choose yesterday for your alert, the alert is triggered every day at the same time and contains yesterday’s data.
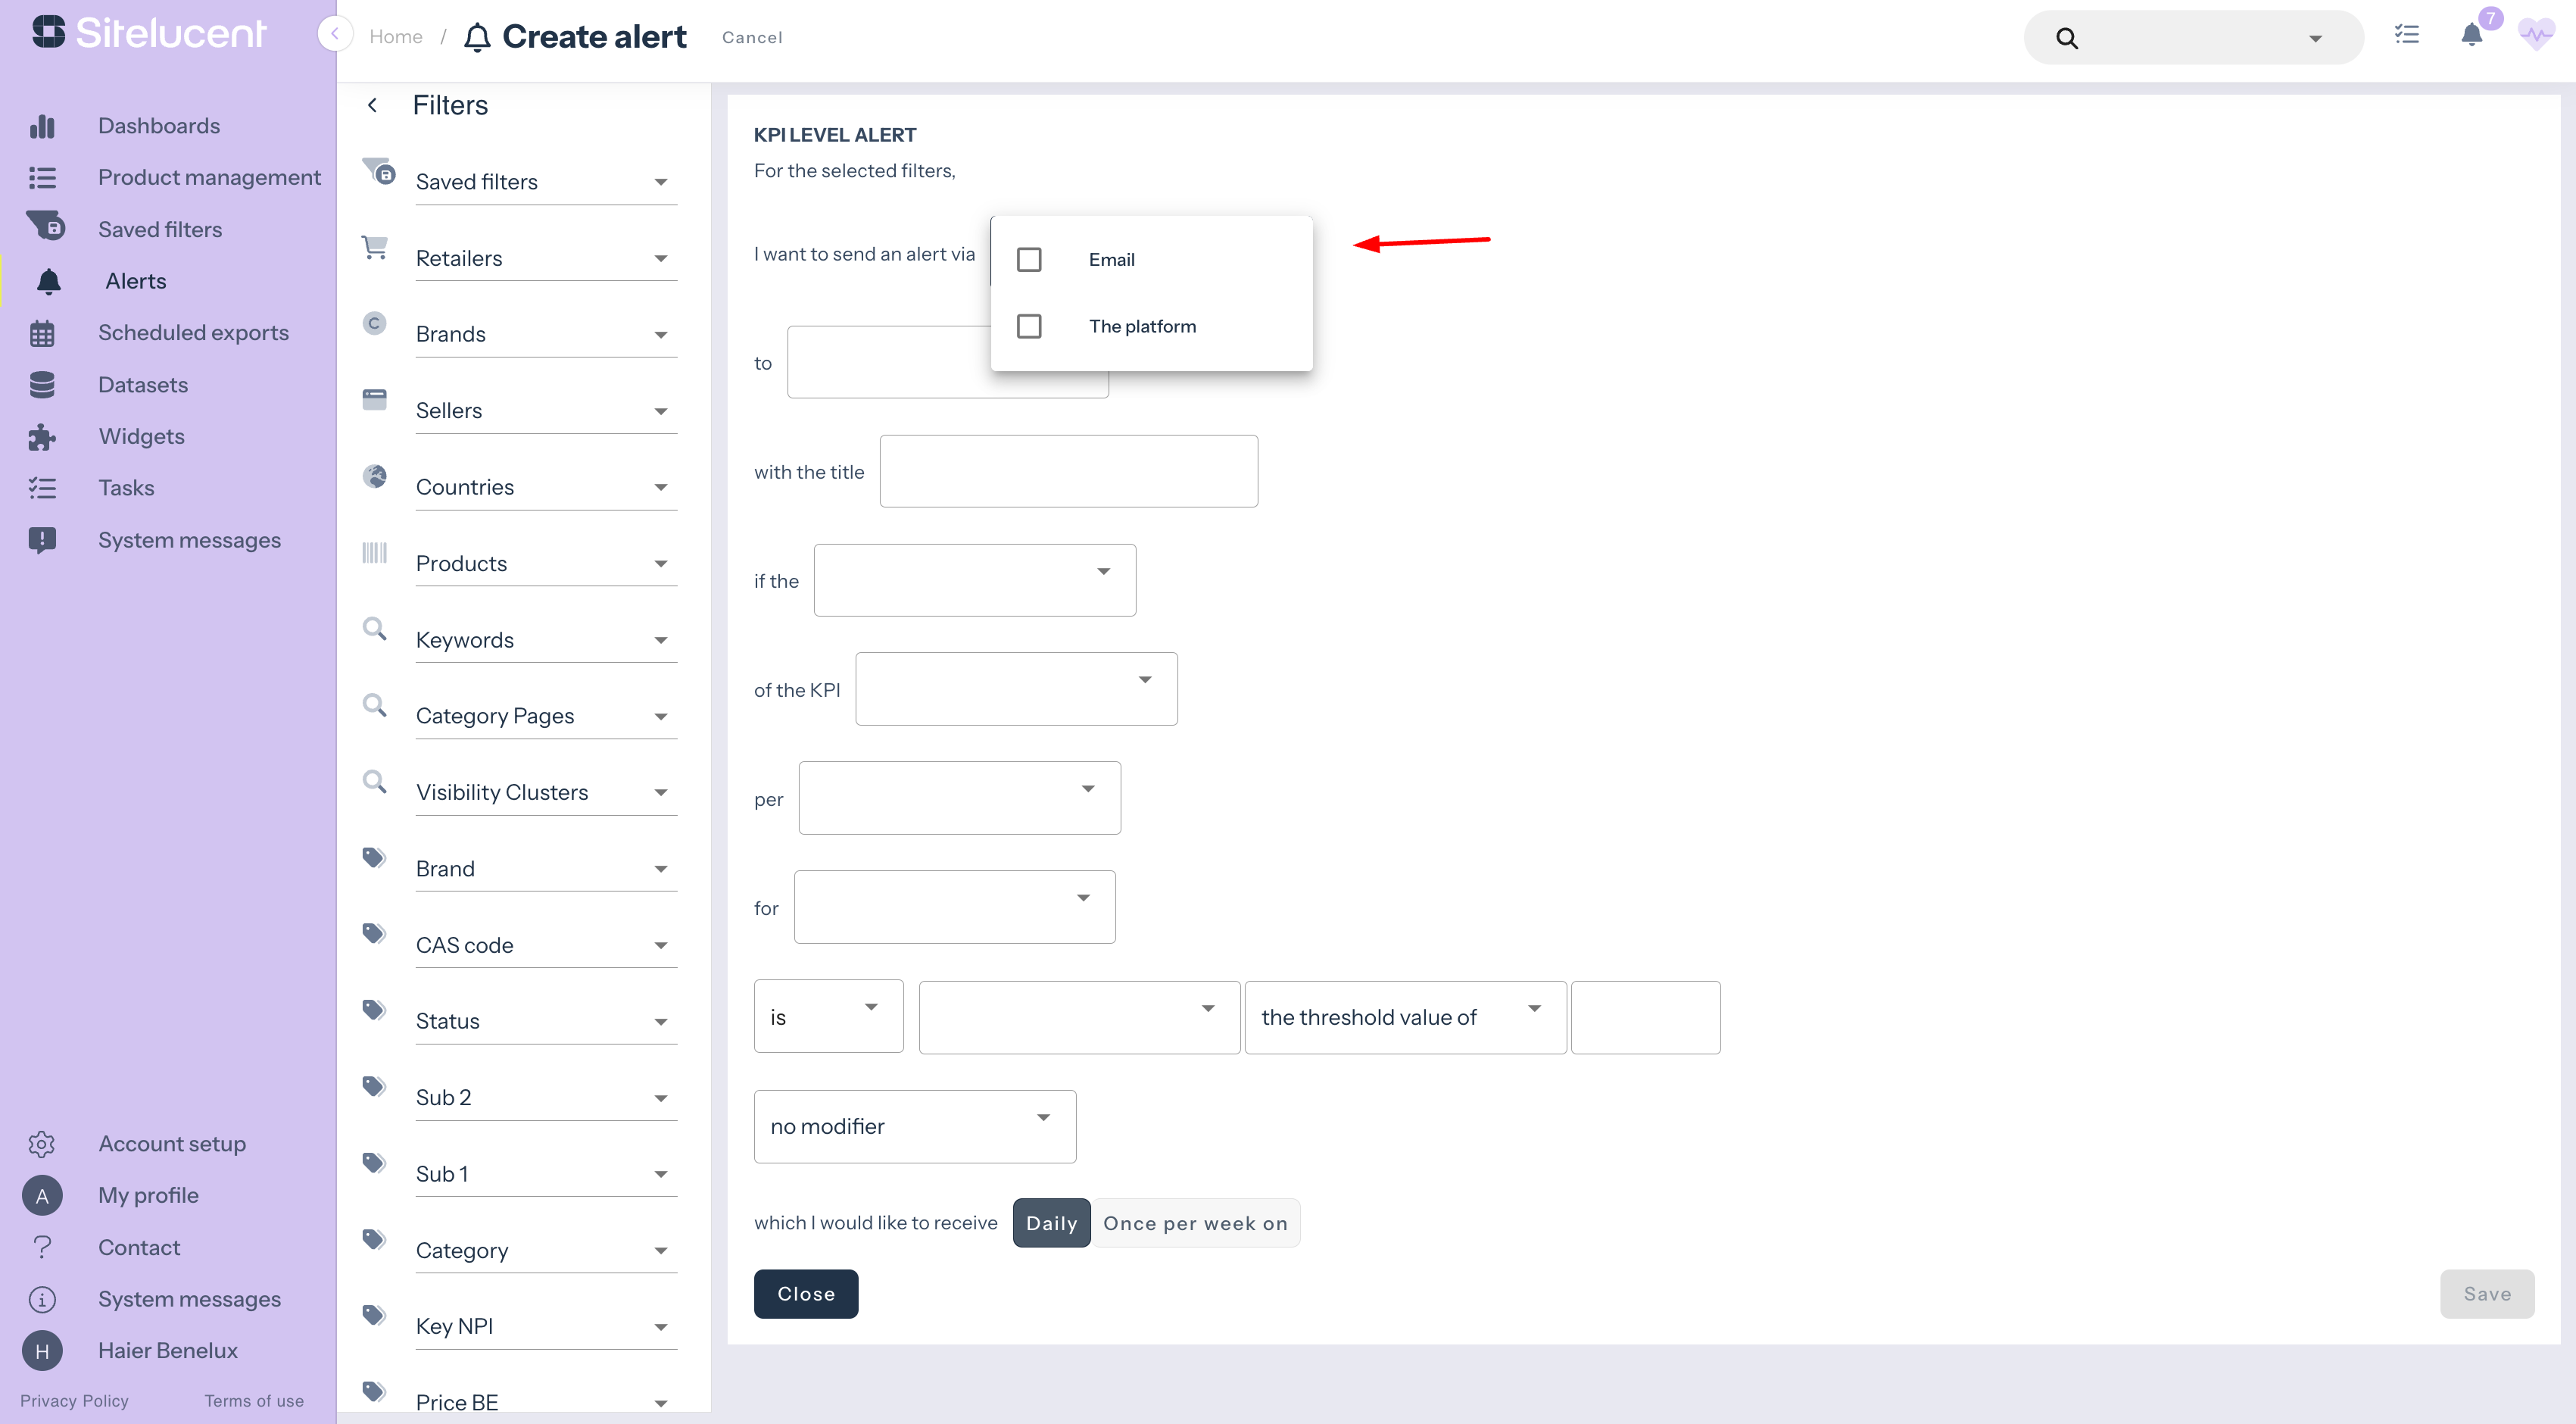
Note: you have the following options:
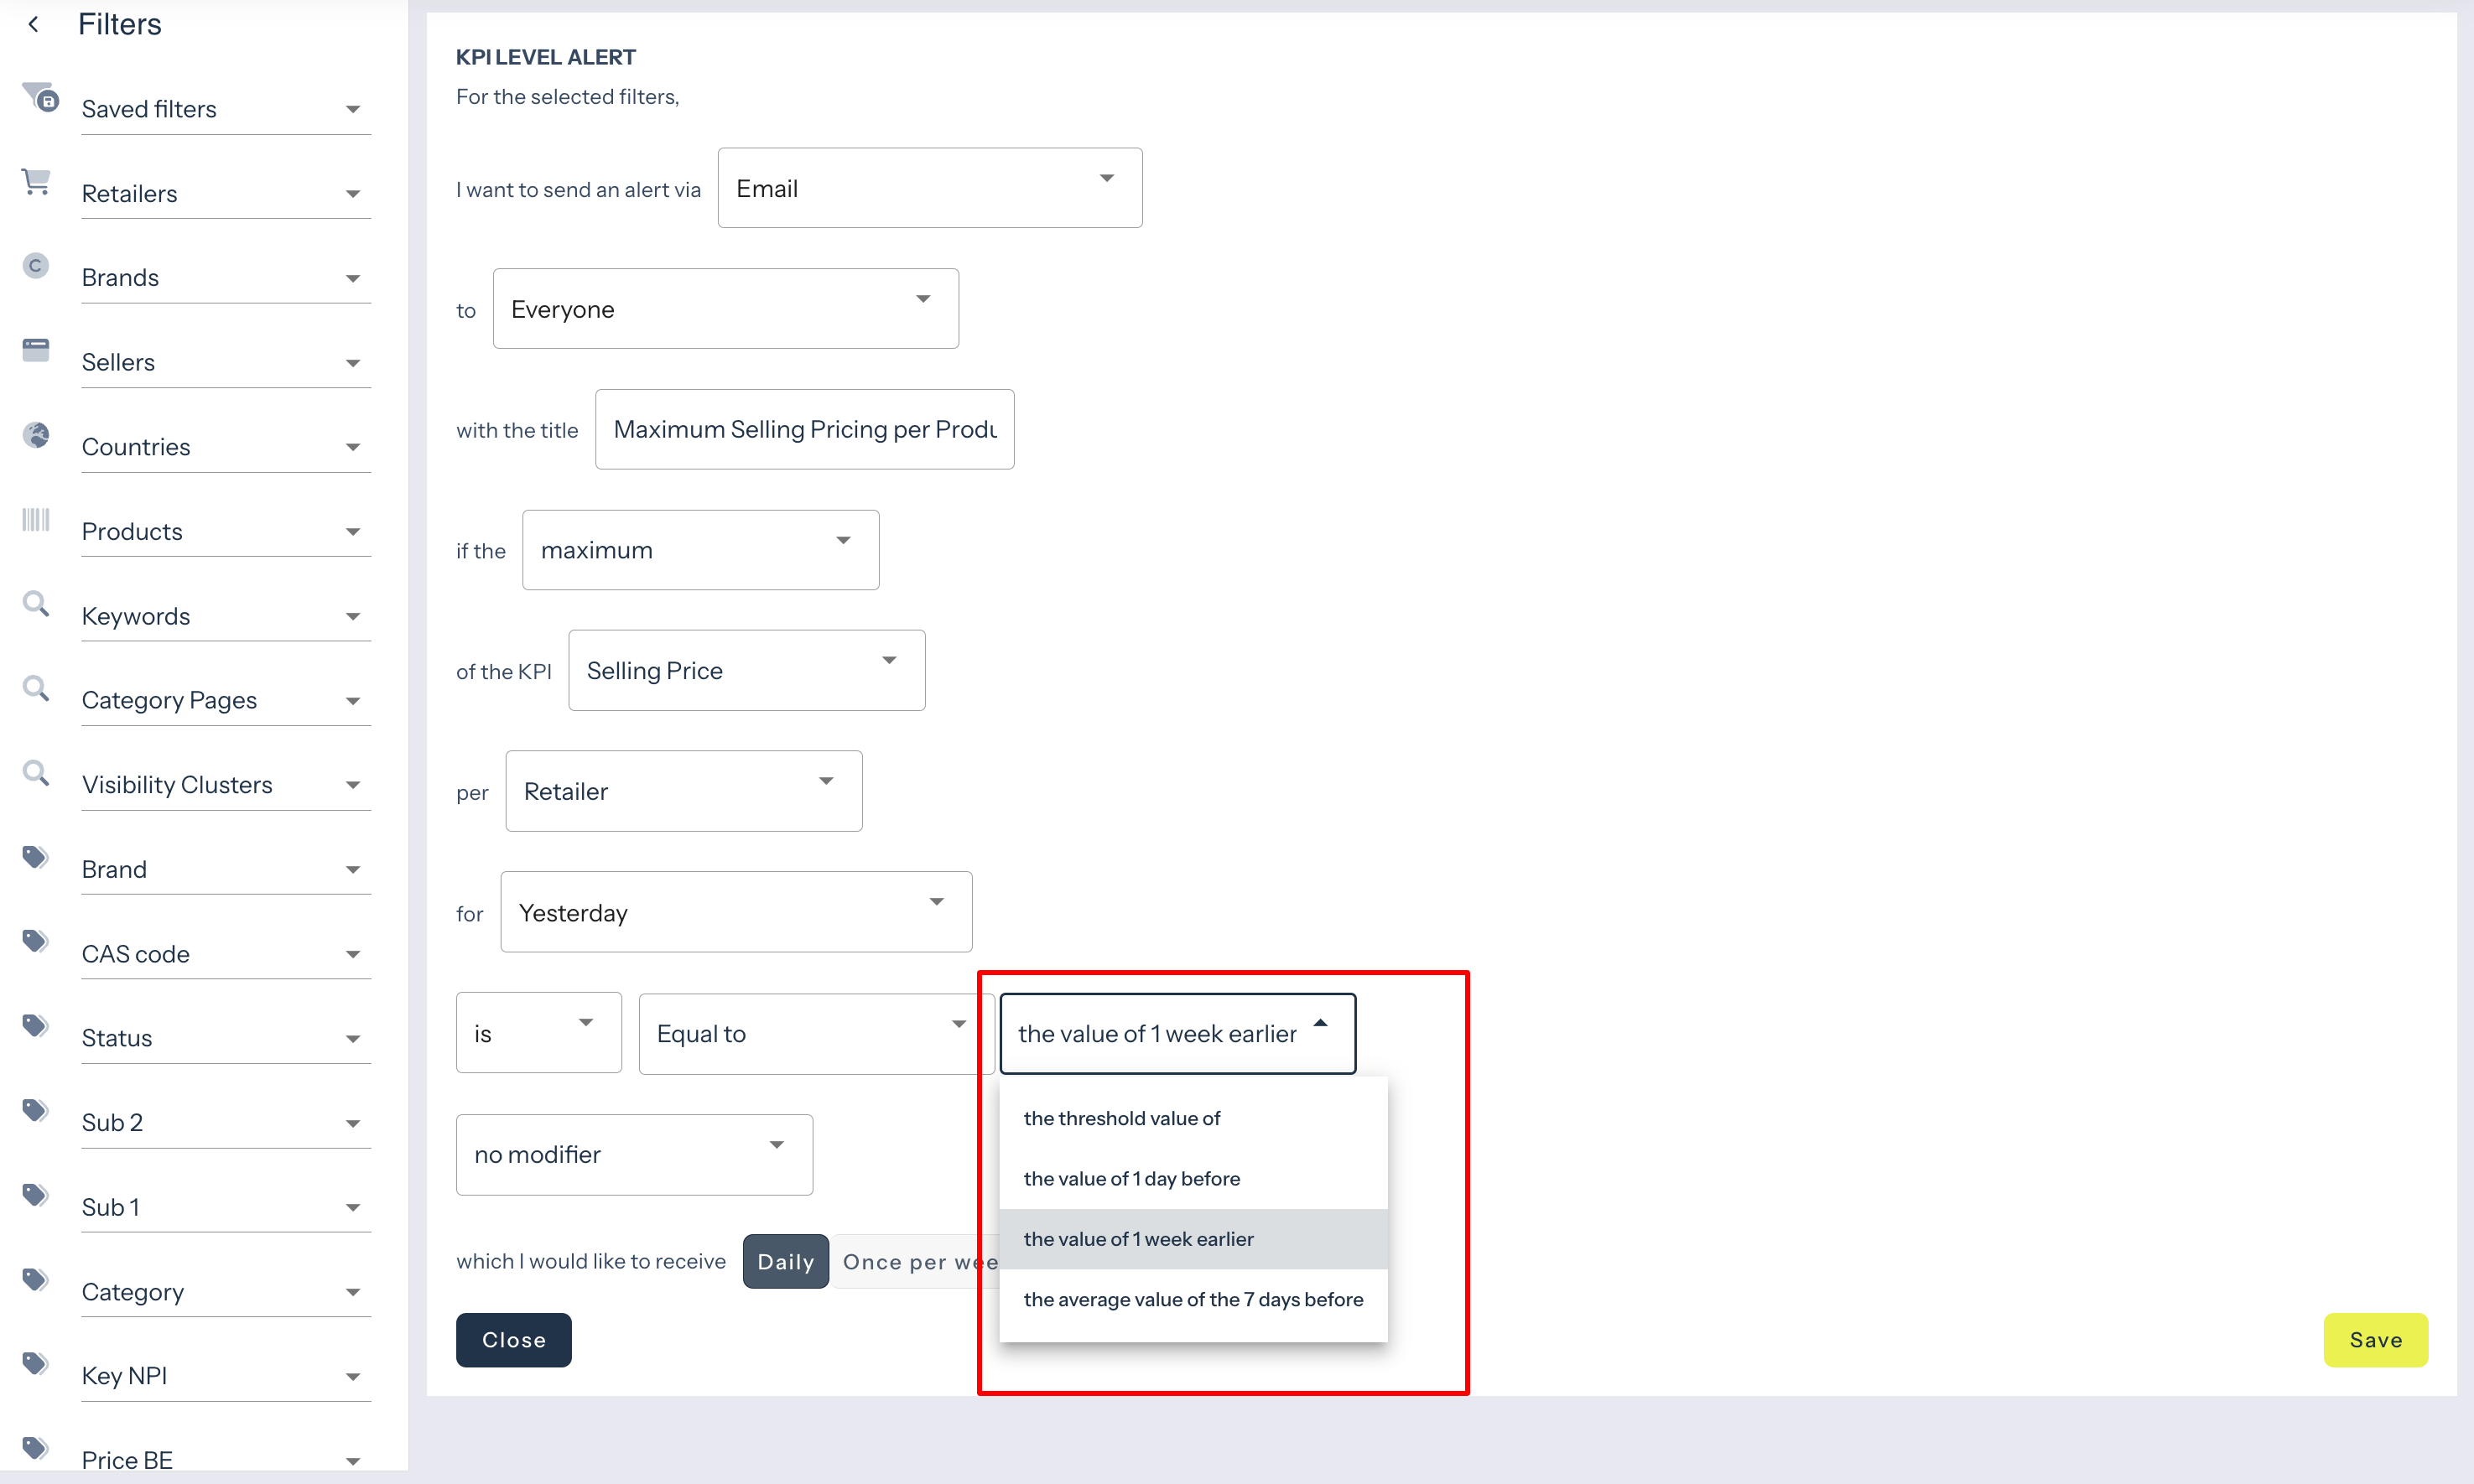
- IS or IS NOT: the first option you need to choose is whether you want your threshold condition or relative value to be (is) or to not be (is not) according to one of the options you choose next.
- Equal, smaller or bigger: choose when you want to receive an alert – when your threshold condition or relative value is equal, smaller or bigger than the comparing value.
- Smaller than the value of 1 day before: availability rate drops from 90% to 50%
- Smaller than the value of 1 week earlier: today your availability rate is 80%, last week it was 95%
- Smaller than the average value of the last 7 days before: today your availability rate is 50%. On average in the last 7 days, your availability rate was 65%, meaning you’ll receive an alert.

Example: imagine you’ve set your alert to where you’ll receive one when the value is lower than the day before. For example, you’ll receive an alert when the availability rate drops from 99 to 98. However, this is not a big difference, and you might only want to receive an alert when a value drops from 99% to 50%. In such cases, you can use a modifier.
There are 4 modifiers:
- Plus (exact value): value = 5 + (exact value =5) = triggered at 10
- Minus (exact value) = 10 – (exact value = 5) = triggered at 5
- Minus (relative value of %) = 20 – (10%) = triggered at 18 or less
- Plus (relative value of % or more) = 20 + (10%) = triggered at 22 or more
Note: take a look at the steps above in the ‘KPI level alert’ explanation for more detailed information.
Note: product level alerts contain the URL to the corresponding product detail page. Why is this useful? When you, for example, receive an alert about an SKU that is out-of-stock, you can quickly visit the retailer website to see if this is still the case.
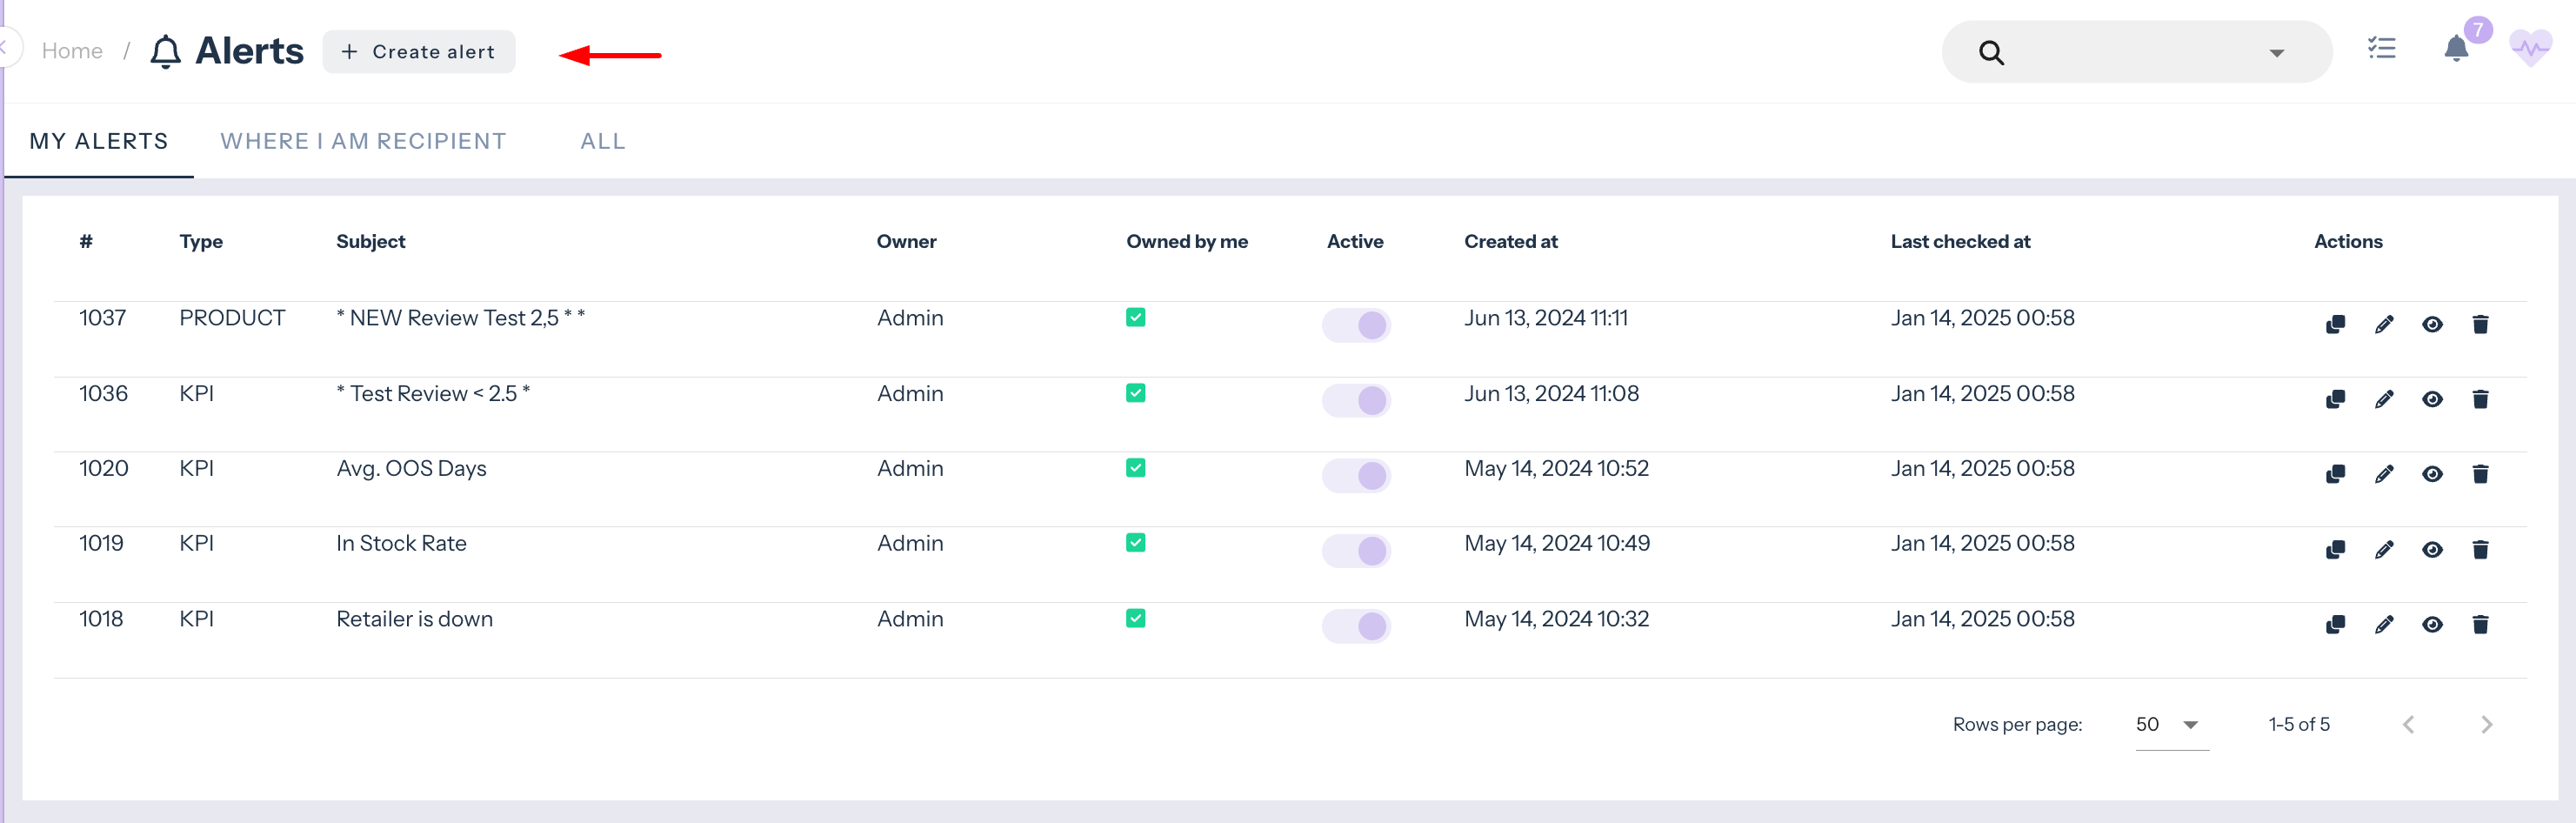
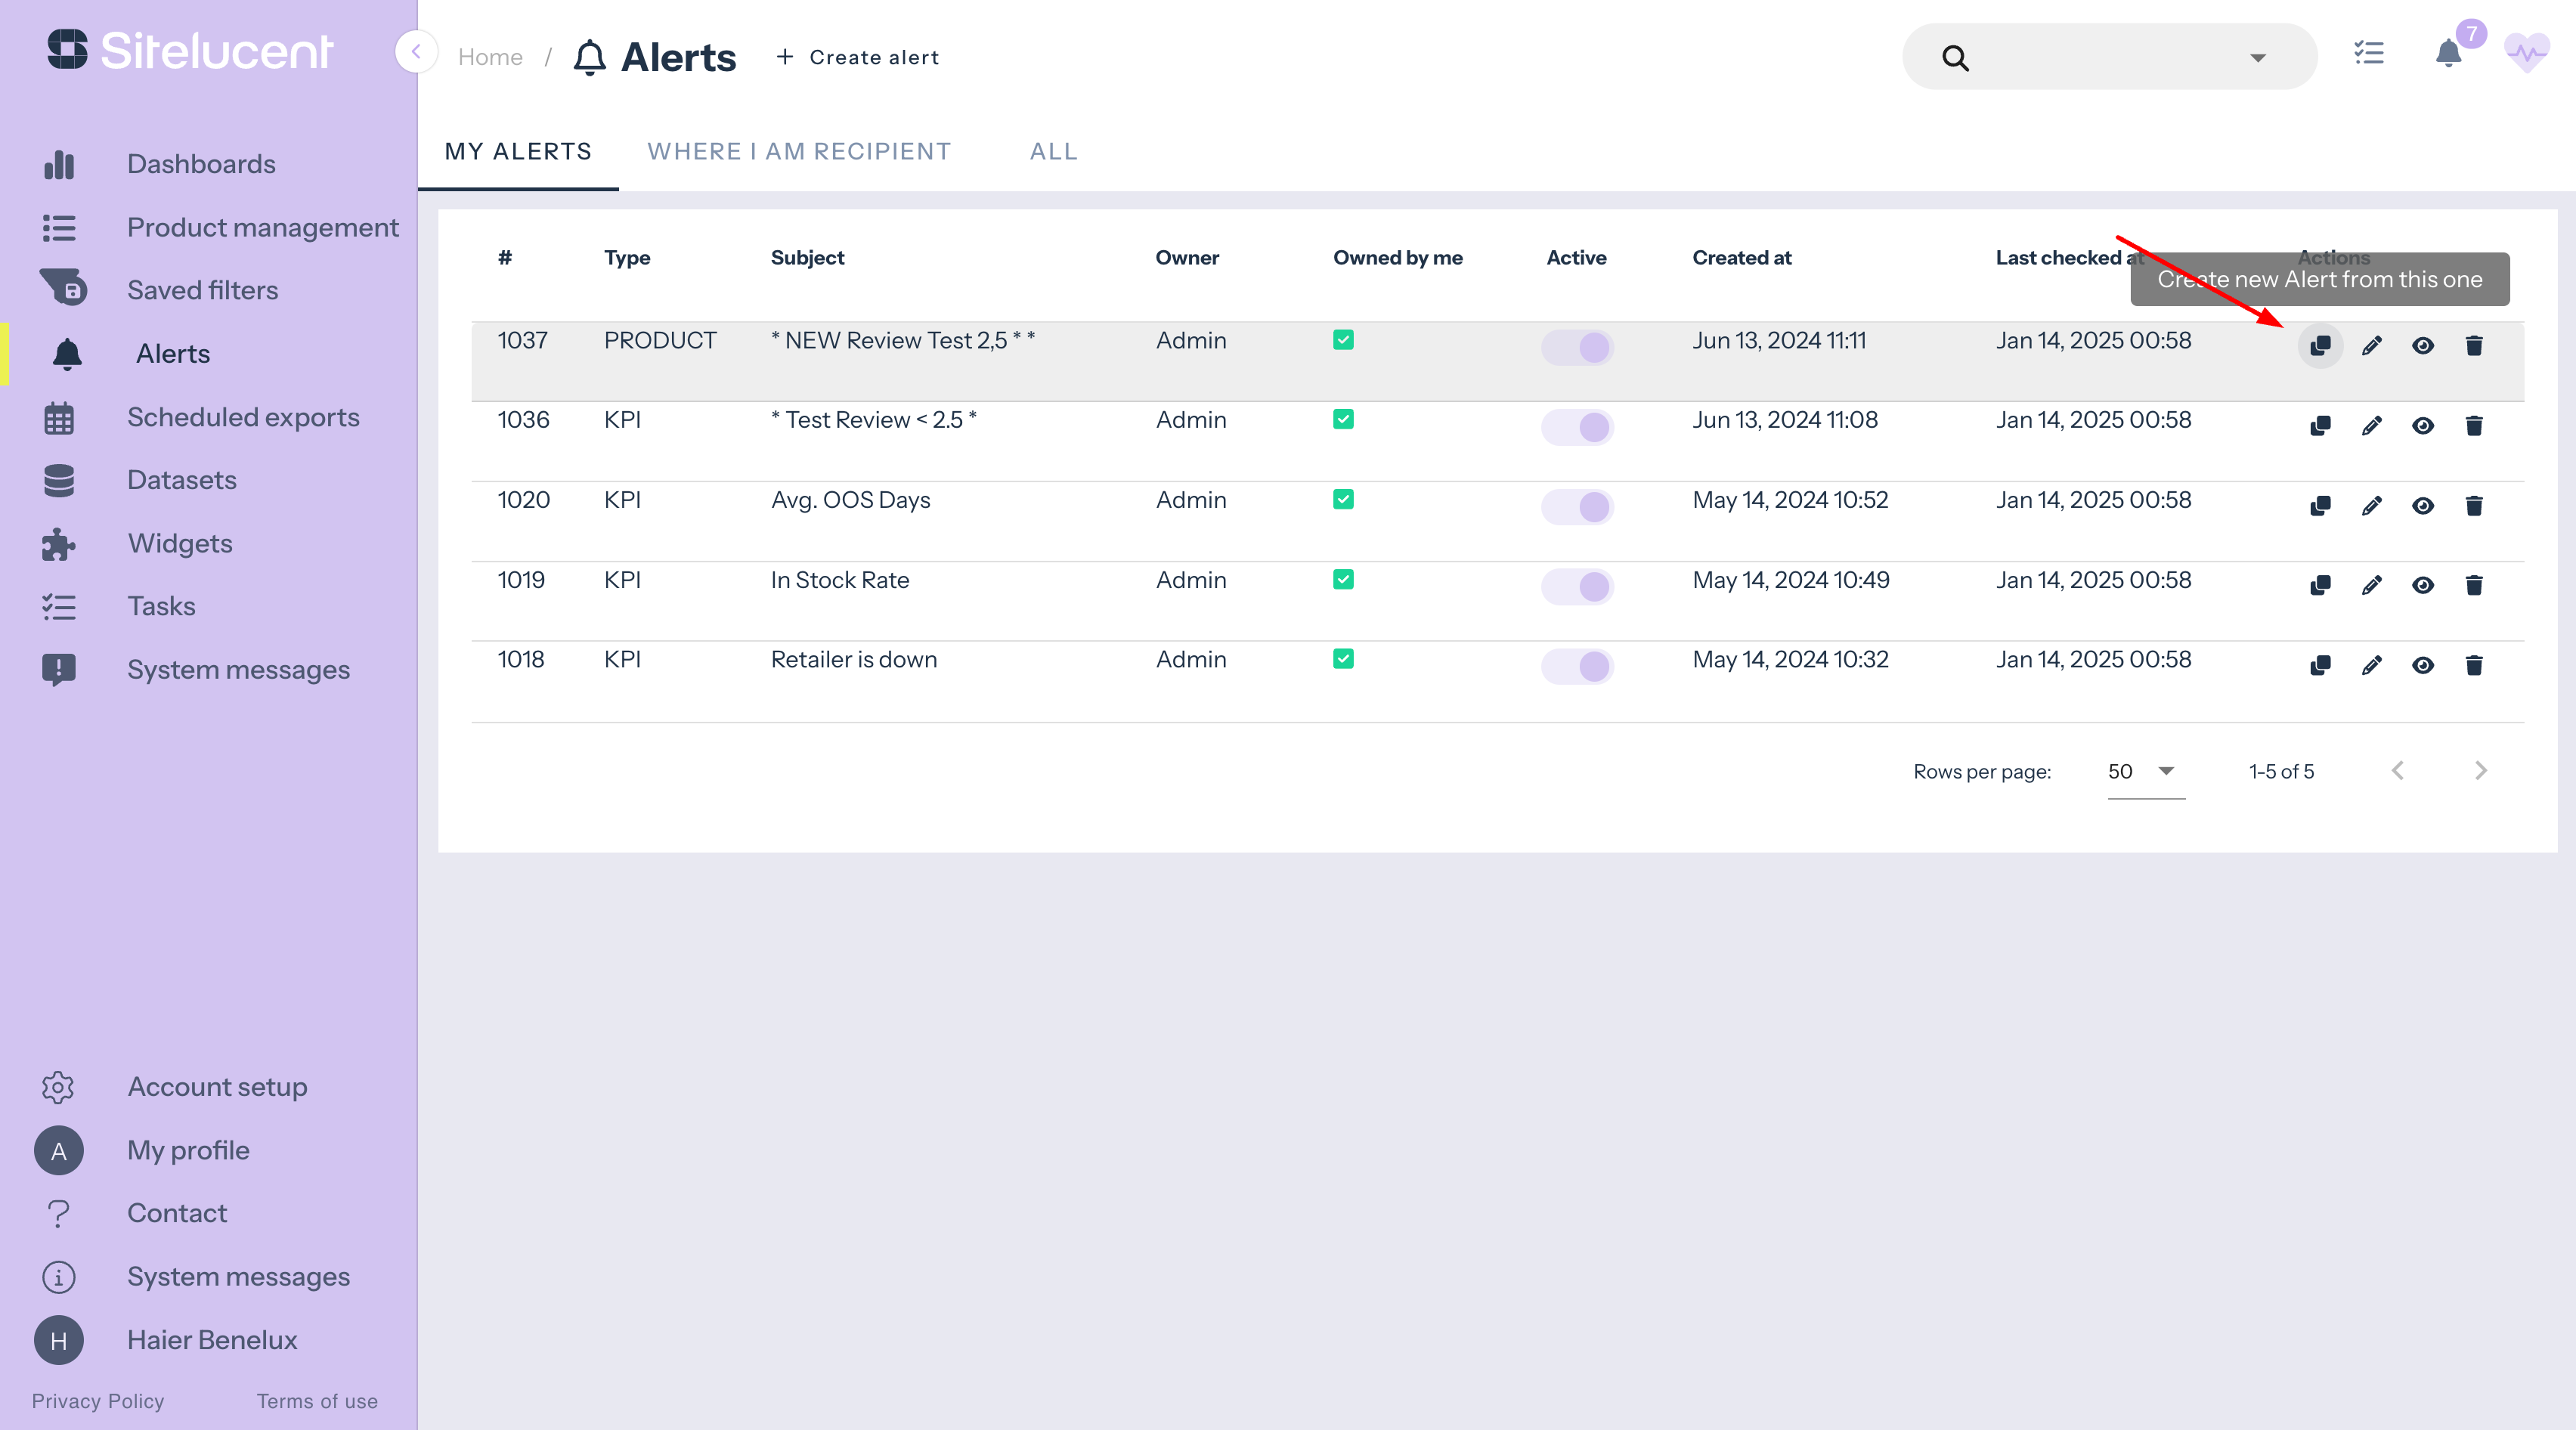
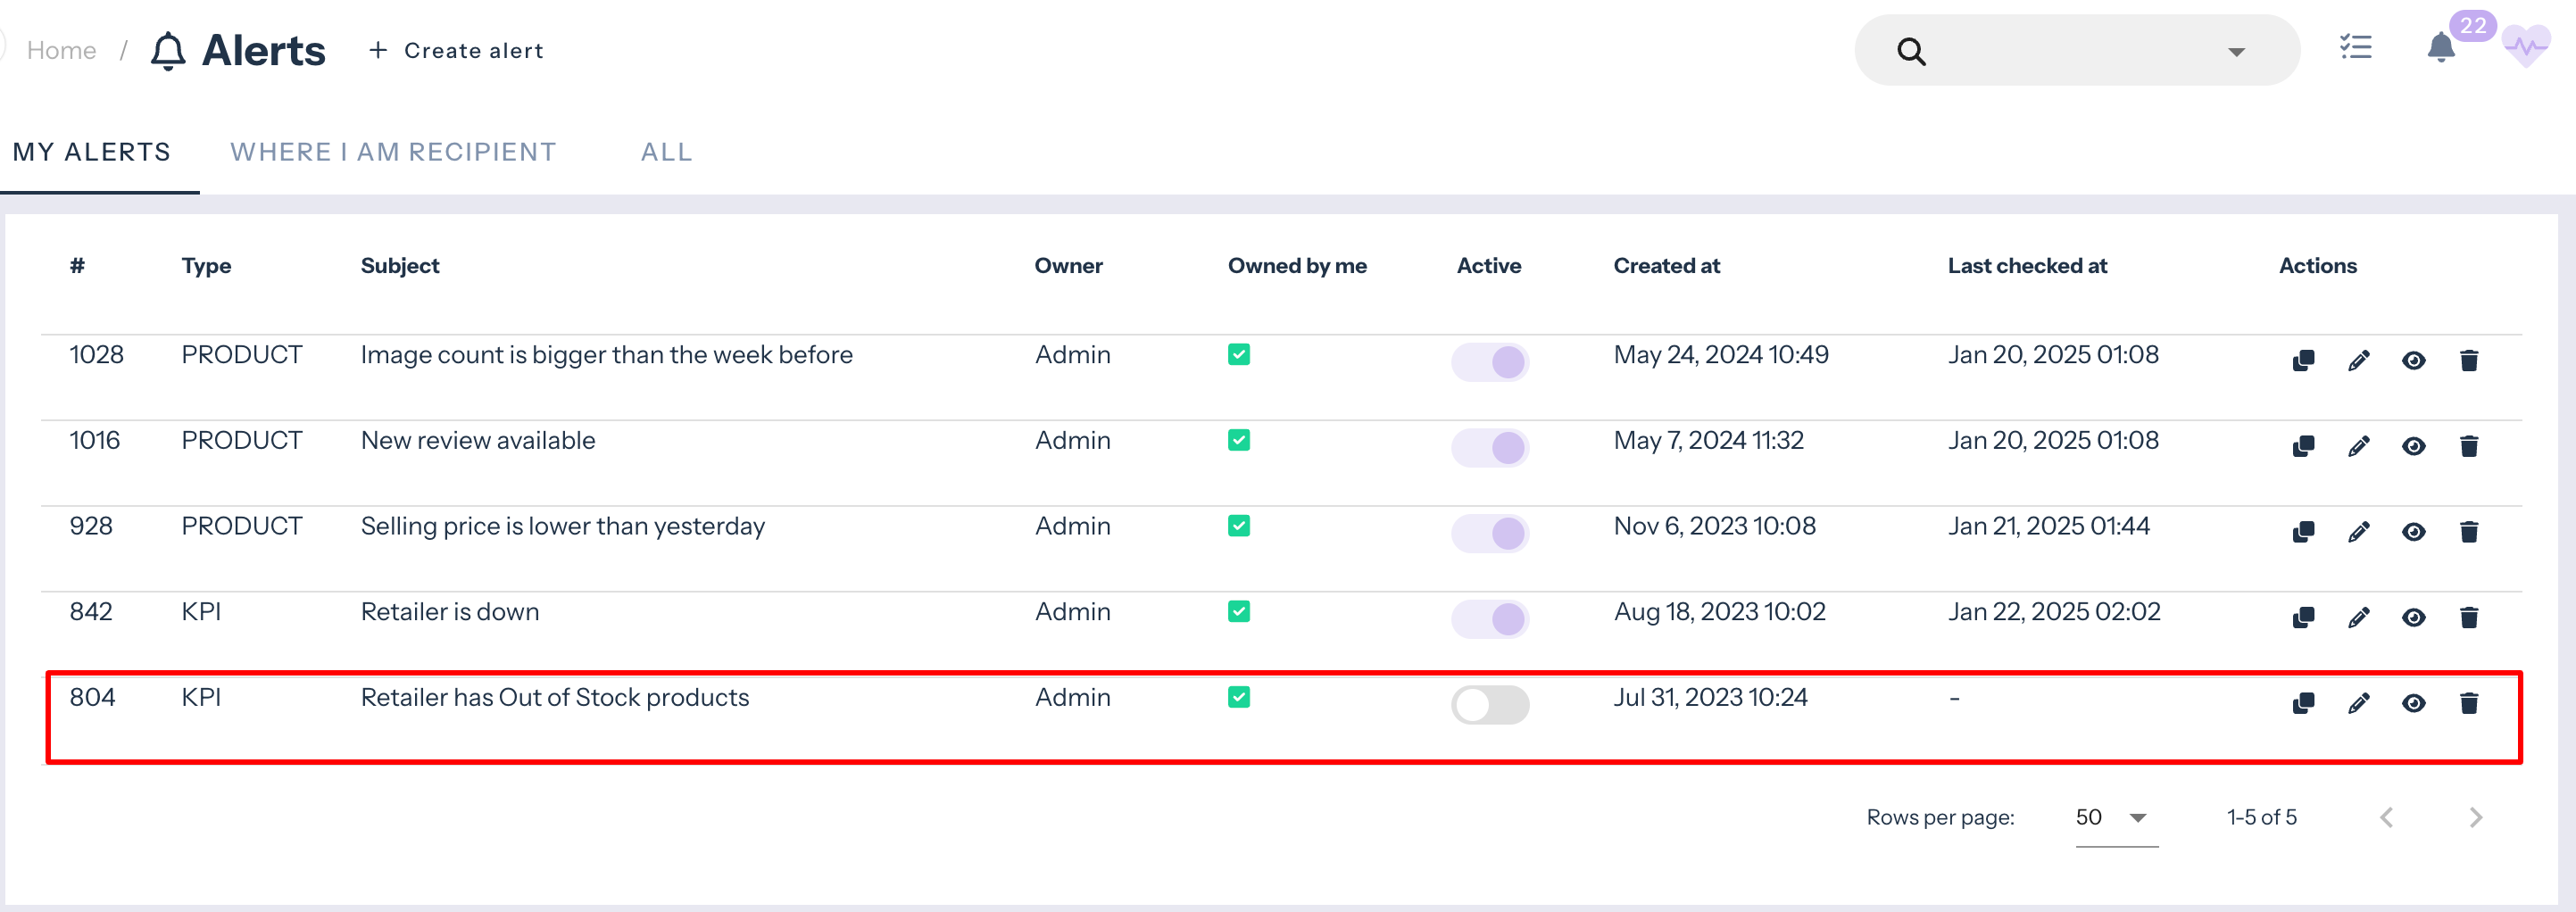
You can copy an existing alert and edit the filters in the ‘Alerts’ overview. This can be useful, for example, when you want to create the same alert for different retailers.
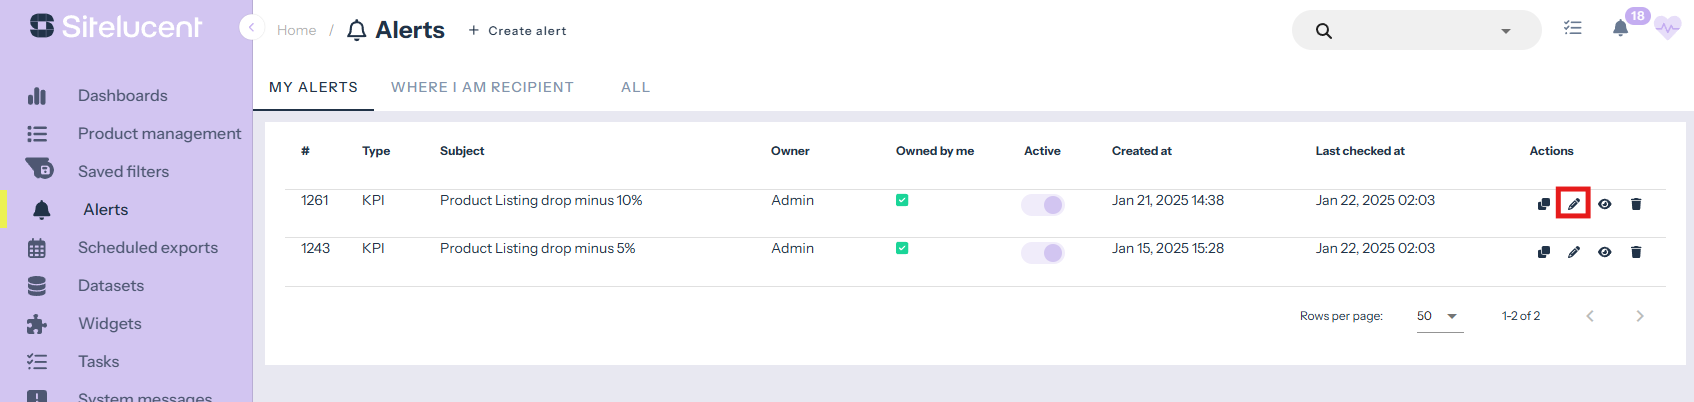
It is also possible to edit an existing alert, for example when you want to change the recipients or the threshold condition.
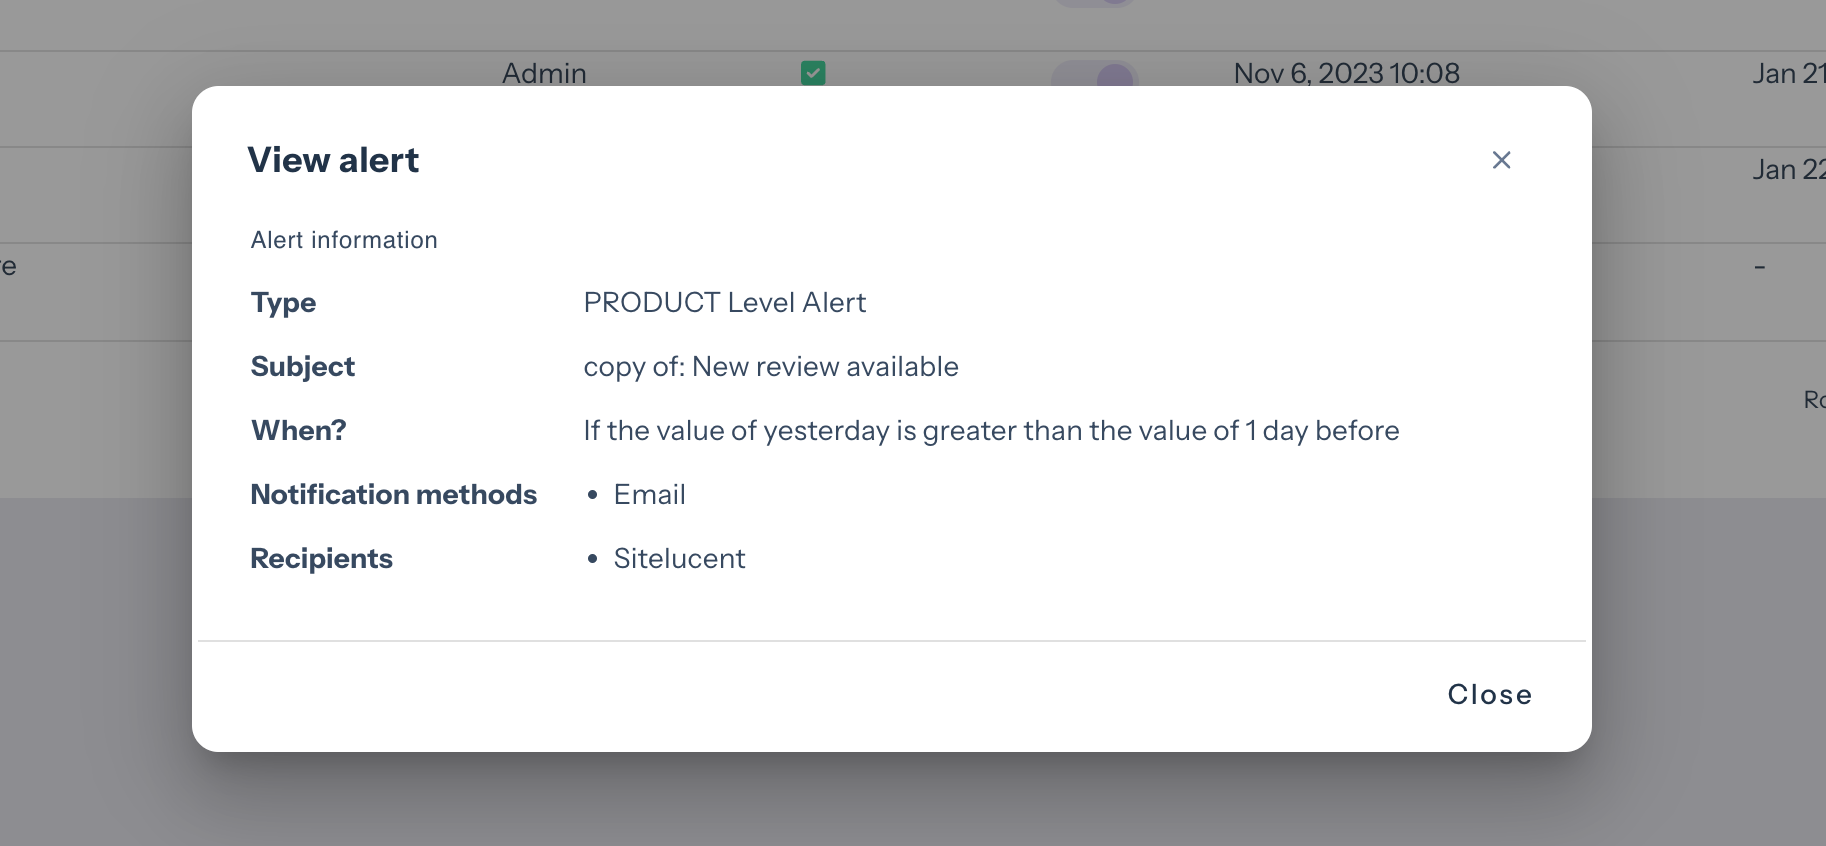
In the overview you can also take a look at the used fields of your alert, delete the alert and (de-) activate the alert.
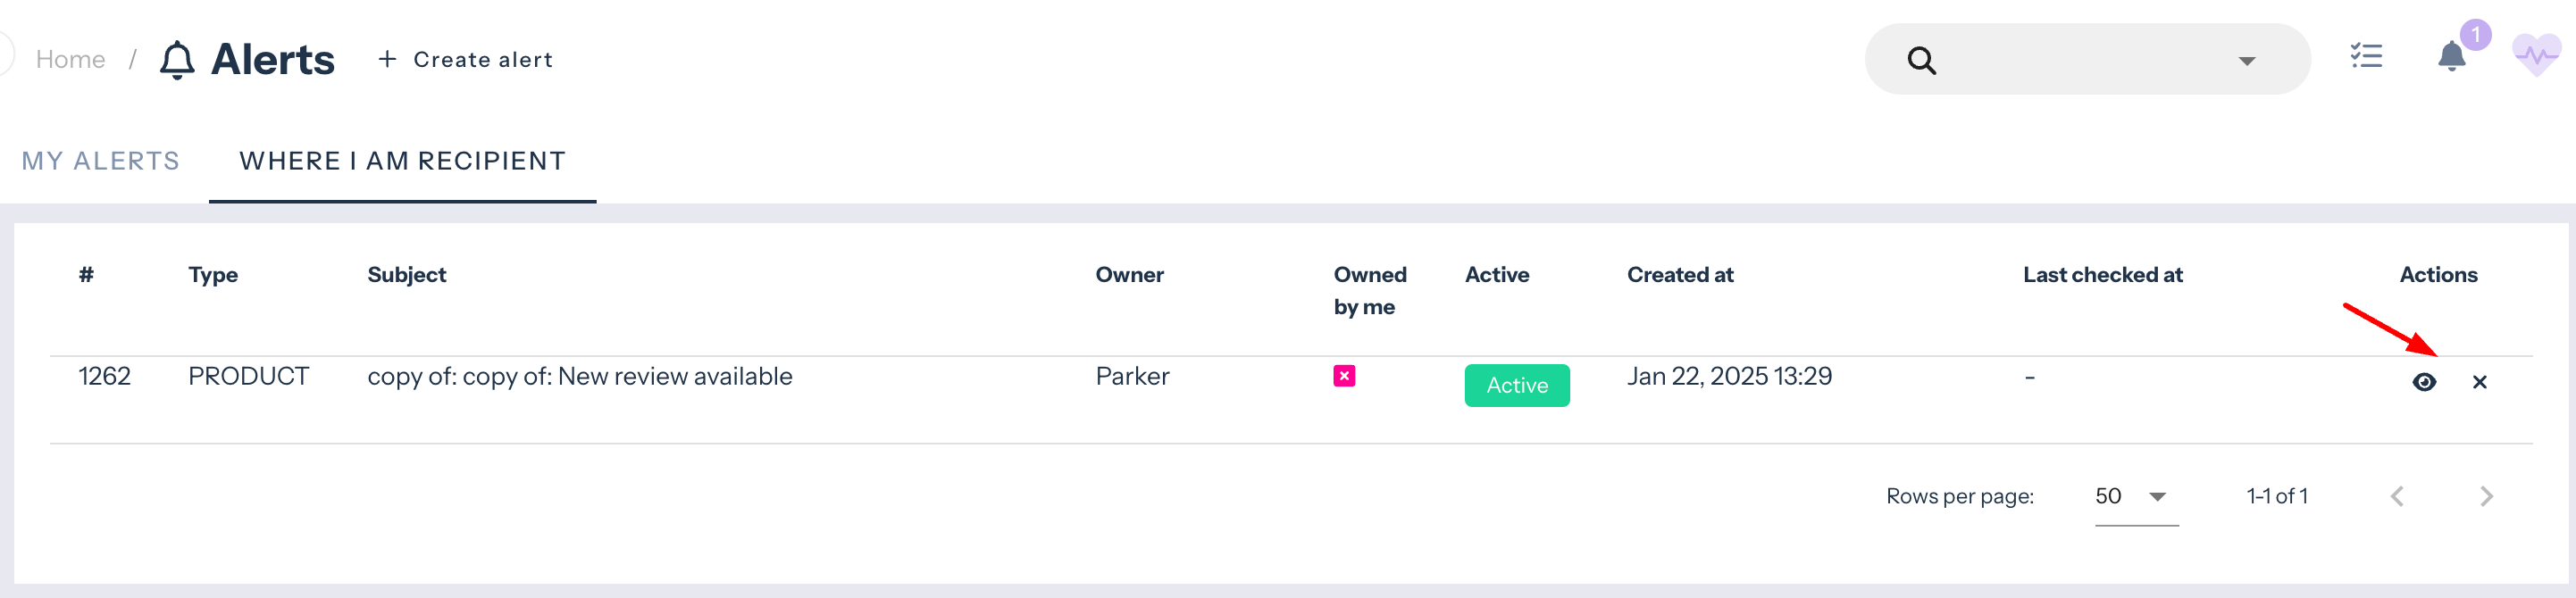
When you’re a recipient of a specific alert, you can also remove yourself from receiving the alert.
Curious to discover the best practices when it comes to alerts? Read our article!